I also bought a dado stack. Here’s what I think.

A few months ago I bought a table saw and a dado stack set to help with some major projects I have coming up this year. I reviewed the DeWalt table saw yesterday. Today it’s the dado set’s turn.

I’m not a sophisticated woodworker. No high-quality, rare hardwood, micro-tolerance projects for me. So admittedly, I did not go after a precision dado set but rather something passable that would work with the more rough work I do. I picked up the Freud 8″ Stacked Dado Set for All Saws (SD208S).

The set comes with two outer blades, three chipper blades, a pair of spacers, and a bunch of shims in two sizes, all for about $100. It came in a fairly durable plastic carry case with a compartment on either side. the blades and spacers all go on two central spindles with screw-in caps to hold them in place in the case. It also includes a cardboard instruction card that doubles as the packaging front cover. Inside it tells you the necessary configurations to create stacks of all sizes from the minimum to the maximum.

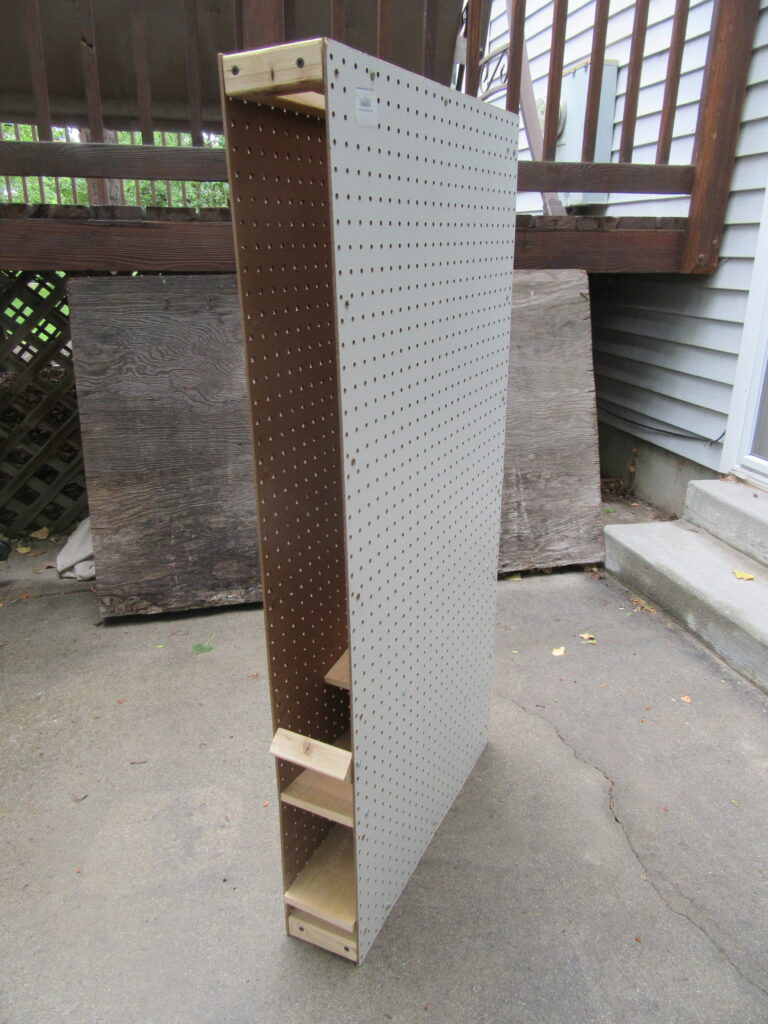
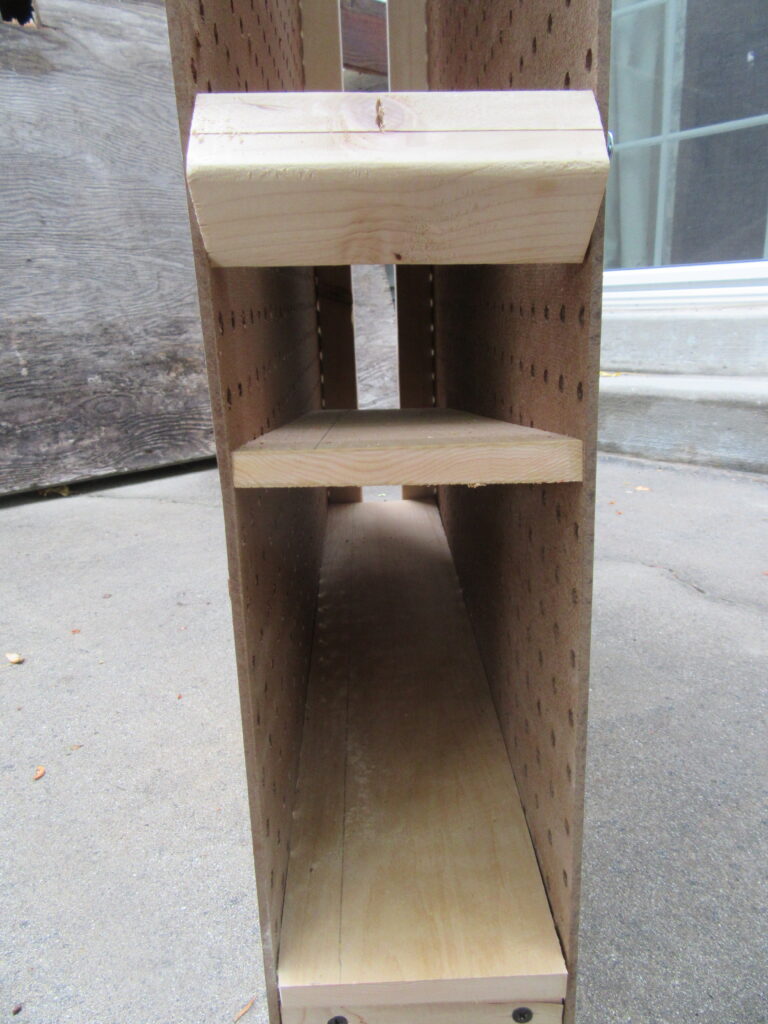
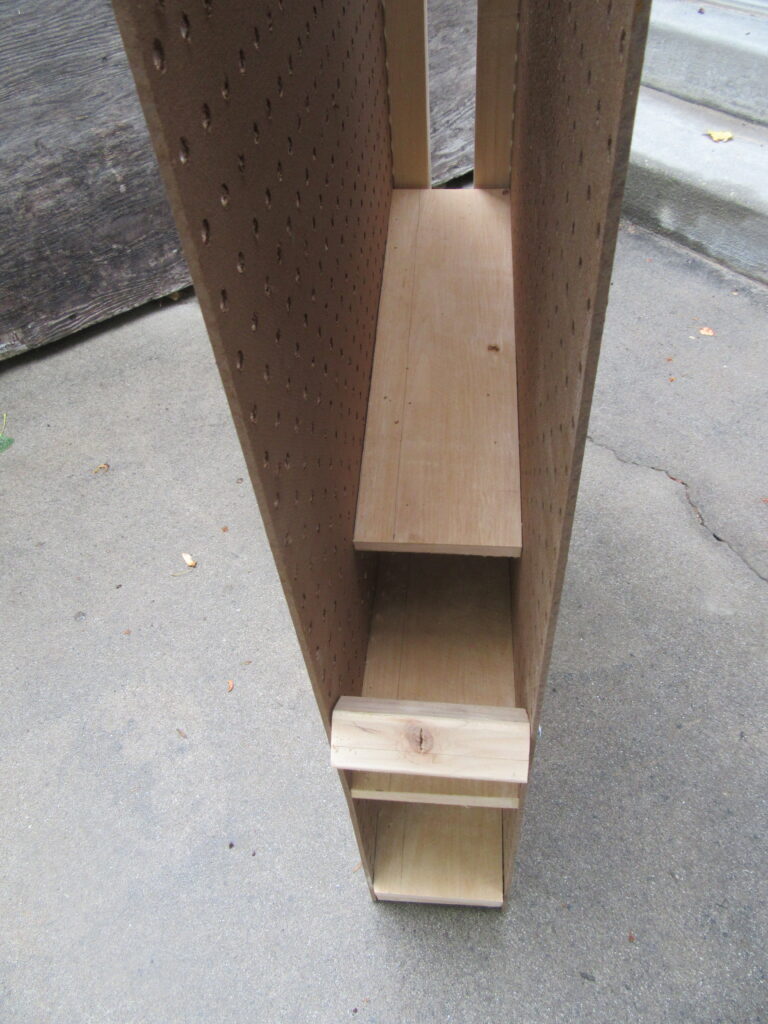
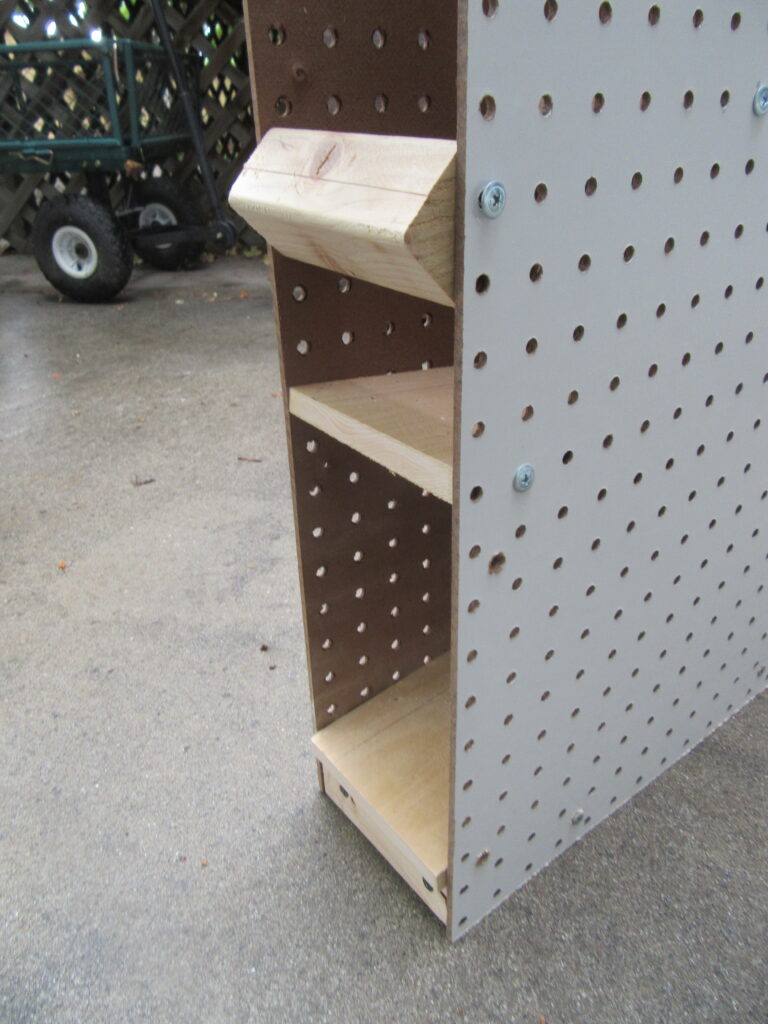
The instructions are fairly good, so it wasn’t difficult for me to put together a test stack of half an inch to try out. Once I was more comfortable with dados I switched to a 3/4 inch stack in order to mass-produce some 1/5″ dados. The rips went well, with only a little splintering and tearing. The sides and bottoms of each dado were smooth. I have no micrometer, so I can’t verify the sizing was accurate to any particular degree of tolerance, but I tried the intended board size in the groove and it fit well. Considering I was making two cuts to achieve the 3/4 inches, and had sized the stack just a touch wider than 3/4 to allow for overlap, any discrepancy is more likely to be poor measurement on my part. In any case it’s good enough for what I’m doing. I suspect, as thin as the shims get, if precision is essential you can probably adjust accordingly.

I found putting a stack together to be fairly simple. The shims, being flimsy, tend to flex and lock to the arbor, making them a little harder to remove, but I suspect that’s normal and goes with the territory. Considering how much easier this is to use than my router (I don’t have a router table), I’m not going to complain.

All in all, I’m pleased with it. I just hope I never lose the instructions. I understand Freud is a fairly good brand. This particular set is rated a 4.7/5 with 430 reviews on Amazon. Should I need another dado set in the future I’ll likely look at Freud first.

Fun with prototyping

Storing canned goods is pretty much a given in any long-term food storage program. Storing them so you can rotate them easily, however, is something of a trick. I’ve heard of and seen of can storage racks where you feed them in at the top and they roll down a series of ramps to the bottom so you they’re automatically sorted for rotation. I’ve been thinking for years of how to make some for our storage room, but the thought of trying to figure out all the measurements and angles, rout out perfect grooves, and make sure they actually feed through the system properly has left my head hurting.

Ever since I re-started this blog and got serious about self-reliance again I’ve been devoting a fair amount of mental bandwidth to the problem again. Those gravity-feed can stackers are nice, but they don’t use space as efficiently as they might. But then, neither do most storage shelves. There’s always empty, unused space. And anything I build is going to be a bit pricey. Is there a cheaper way? Is there a way to experiment?

Well, I finally solved the last question. It dawned on me this week that pegboard is amazingly reusable, and sturdy enough to prototyping at the very least. I picked up some materials this weekend and got to work designing a test rack.

After getting the dimensions of several different types of cans I set to work building the frame for a single rack from two 2’x4′ pegboards and some 2″x2″ studs. It didn’t take long before I made my first mistakes. Fortunately they were easily remedied and I was able to move on to the next phase.

Cedar fence boards are my go-to disposable wood. When my wife and I became Cub Scout leaders I was able to design a bird house using 6″ fence boards, and I was able to get two bird houses out of a single $2.00 board (prices have gone up since then). For this project, where I needed shelves exactly 4.75″ wide, which is too wide for most boards, and far too thin for others. But a 6″ cedar board can cut down to size with little waste, and are thick enough to put screws into the side of it.

So after trimming some fence board down to the right width, I started experimenting with properly sizing and positioning the shelves within the frame, starting from the bottom. That shelf would need to slope toward the front. The next shelf above that would need to slope toward the back of the unit, with enough a gap at the back to allow cans to fall down onto the back of the lowest self. Getting the slope right is the main issue. Too shallow and cans don’t roll. Too steep and you take up more space than needed (and could potentially propel cans right out the front of the unit).

Here’s where what I like to think of as the genius of my idea came into play. Using pegboard for the sides I didn’t have to drill a bunch of holes, and could easily see where the shelves were within the frame. I could then use the existing peg holes, and put a screw through the hole into the shelf to hold it in place. If, upon testing, the angle was wrong, I could remove the screw, raise the shelf to a better angle, and put the screw into the board through a different peg hole at the right spot. It’s about as flexible a system as I could contrive with standard materials.

I didn’t quite get as far as I wanted this weekend. My test model only has three shelves, so I have to feed from the back of the top shelf until I get the fourth in place. With a little luck I should be able to get two sets of four shelves in a single unit, but that’s still a ways off. I’m not completely thrilled with how the first run is turning out, and I’m finding some issues with my choice of materials (cedar boards warp REALLY easily) that may account for why the cans don’t roll consistently from top to bottom without getting stuck. The consolation there is that my open design makes it easy to reach in and push the cans when needed.

As I continue to work with my test frame I’ll keep you posted. If I’m pleased enough with the outcome to where I think I’m ready to “mass produce” these I’ll perhaps post some blueprints, or at least more detailed photos.

EDIT: Sneaked out and got a few pics of the test frame: